A different Frame
Fils & Papiers
julio 26, 2019
4 Comments
Hello everyone!
Today is DIY's day!I propose to do something different than usual with these wooden letters: its size gives for much!
(Tutorial en Español aquí)

You will need:
-2 alike letters. I'm going to use two M and two D to 30cm in height to make two frames
-glue
-cardboard
-supplies for cut, measure and write
-drill and 8mm tip
-mini hand drill and 3mm bur tip
- sanding paper

Do not panic! Takes work but is very easy to do.
Let's start!
So first you need to draw two holes behind one of the two letters for can hang our frame on the wall,
in my case I'll draw the holes in one M and one D. The diametre of the holes need to be a little more big than the diameter of the nail head that we're going to use. I've made the marks to 6cm with a circle of 8mm in diameter and a straight line upwards of 5mm (1'3cm in total).

Avoid areas very close to edges or fragile structure parts when you are going to draw the holes.
I've used a support with a hole that matches the hole of my letter,
thus when I drilling there will be no obstacle to descend.
First make the circle...

... and make the straight line with the bur tip.

This takes some work and it's necessary to be careful. If you haven't practice go very slowly
or ask someone to help you. Once the line is made you can use the same tip to polish the edges
and then the sandpaper to fine-tune the details.
Make an structure with cardboard to superimpose the letters. I used the cardboard of the packaging. However, depending on what you are going to do, I recommend that you use something like balsa wood.


Do not forget to cover the holes after gluing letter in letter!

If you want to make a shelf you can make a board that goes from end to end.
And that's it!
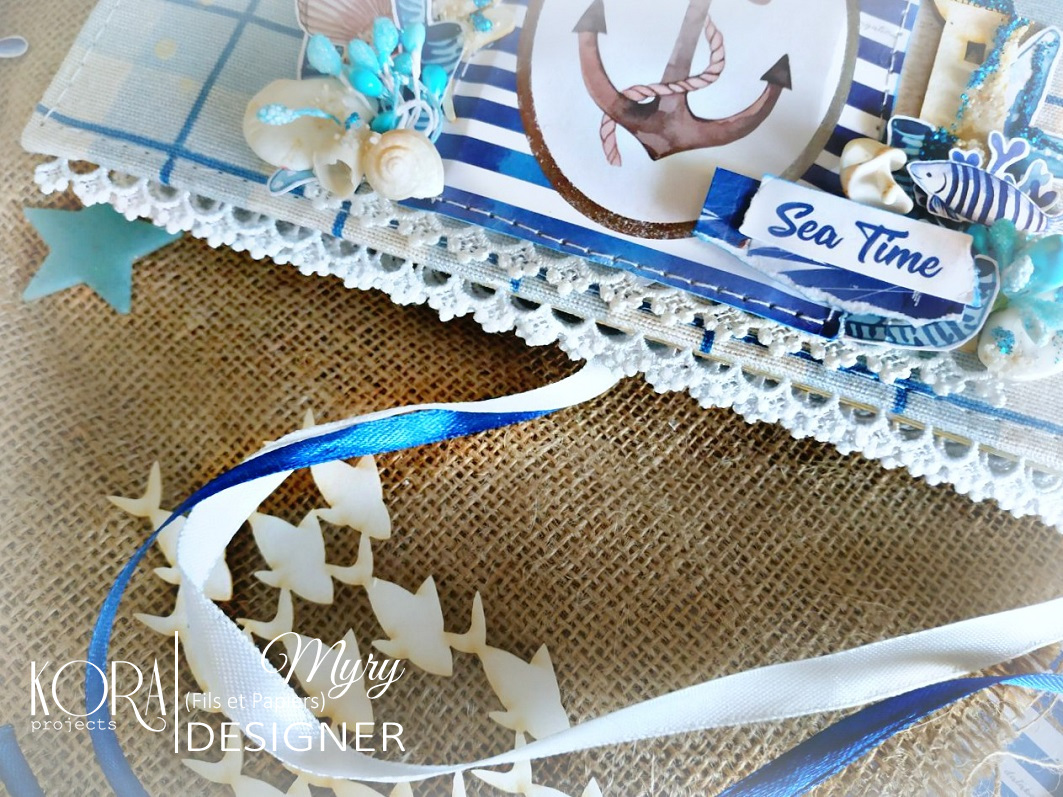
For decor I used some photos, synthetic paint, flowers of the same colors, metal elements
and this gear set from Kora Projects.


two models: one of 10cm and this one of 30cm in height. I thought the big one will be perfect
because in my head those 30cm turned into 20cm. Don't ask how. When I saw the size of the letters was... well... The most ridiculous thing is that before ordering them I'd checked the measure with the meter!
So after a loooot of thinking I decided to make a different frame and this is the result.
Thanks to our DT Hilda who always encourages me to continue attempt to do mixed media projects.
And also the future owner of these two frames, which made me work with colors that it's not my cup of tea!
So I can only say: cheers! Do not despair when your project failure. Think and look for alternatives.
Go for it anyway!
Have a good summer!
With this project I participate into the following challenges:

ScrapMagia oe Маска\Трафарет + Акриловые краски
ALTERED ECLECTICS "ANYTHING GOES + MIXED MEDIA"