jueves, 28 de febrero de 2019

DT Камчатского СкрапКлуба!!

febrero 28, 2019 0 Comments
¡¡Sorpresa, sorpresa!!
¡¡No me puedo creer que forme parte del maravilloso equipo de Kamchatka ScrapClub!!
Os invito a conocer al resto de miembros:


¡Y mi post de presentación!

Hello everyone!
It's Myry from @filsetpapiers and I live in Spain with my little family.


I'm so glad to be part of amazing Камчатского СкрапКлуба Design Team!
As I wrote before, I'm learning russian so feel free to correct me anytime. 
Thanks so much for your help!
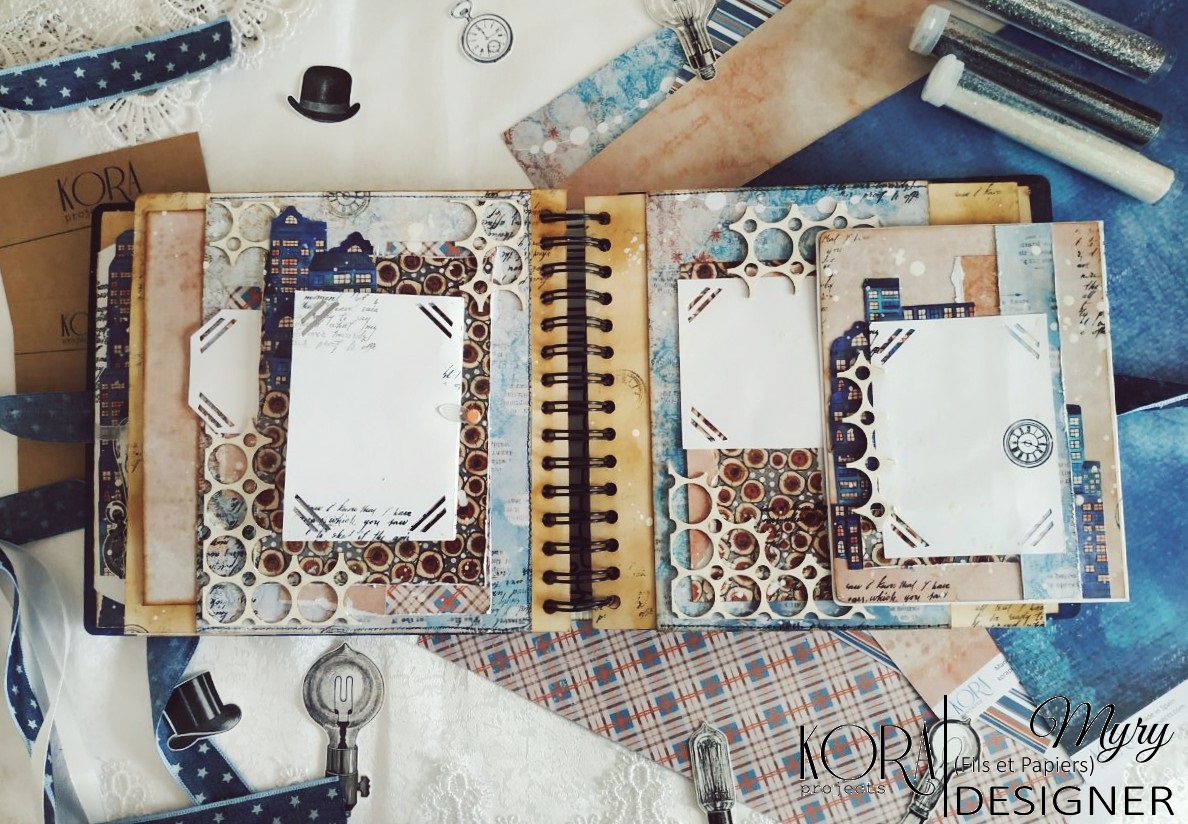
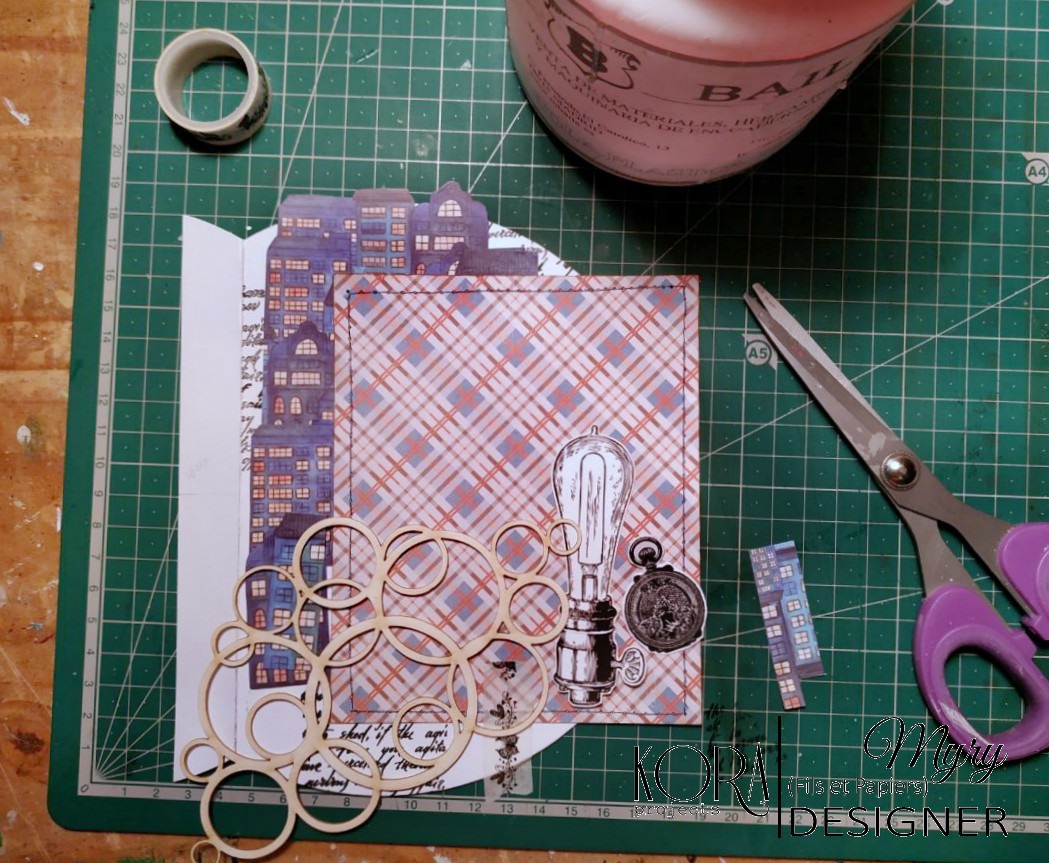
My favourite kind of works are cards and mini albums and I like so much all "heavy" styles like Shabby Chic, Eco, Vintage or Stemapunk.

 Всем доброго дня!
Я рада быть одним из дизайнеров Камчатского СкрапКлуба! 
Меня зовут Myry (в Инстаграме я @filsetpapiers) 
и я живу в Испании со своей маленькой семьей.
Я учу ваш язык! Я все еще путаю слова, поэтому, если вы увидите какую-либо ошибку, вы мне очень поможете, если поправите меня. 
Спасибо большое!!
Мои любимые виды работ это открытки и альбомы.
Среди множества стилей я предпочитаю Шебби Шик, эко, винтаж и стимпанк.


Большое спасибо за доверие!
Thanks so much for let me to be part of this.
Myry

miércoles, 27 de febrero de 2019

JV "Seasons" 4 & 5 stages

febrero 27, 2019 12 Comments
Hello everyone!
And welcome to the fourth and fifth stages of JV "Seasons" from VSK.
  
Yes, yes yes! I'm late, I know T_T
but I have a good excuse ... or so... Anyway.
So the theme of the fourth stage was "Autumn" and we had to choose 2 of these elements: 
leaves (can be print), cutting dies, chipboard, lace or pocket. 
I choosed leaves and dies (as you will see below).
And the last stage was the cover.
Well this is my album finished.

This was the hardest part to do. I didn't want to make a "travel" cover or choose a particular season. 
So I was search on my fabrics and I found this piece. Very warm and cozy.

My first attempt to make a cover with an interior frame.

 Why "Summertime"? Mmm... I was thinking about the idea of vacations, not in the summer.
 I loved this idea for the sipe!
And the inside.

 Everything was fine until the fourth stage arrived and I only had three pictures!!!! 
I found more beach photos so I decided to make three summer pages to finish filling 
(now the title of the cover makes sense)
Forth stage "Autumn"
That was it all!
And the video, of course!
I hope you like it!
Thanks for watching ^_^

domingo, 24 de febrero de 2019

DT Call / Набор в ДК Камчатский СкрапКлуб

febrero 24, 2019 0 Comments
Well well well
I cannot believe that (॓_॔)
First let me to present this beautiful blog!
I known about them last year and I fall in love with all the team and their lovely projects.
I participated some times in their challenges. I think this is crazy, I mean, my russian is no big deal but any way.

About me. I live in Spain with my family. 
My mother taught me to embroider and sew and my husband woodwork: I've an artisan family.
I love collect scrap papers and flowers and I love work with these.
♥╣[-_-]╠♥

So this are my favourite works:
"40th Anniversary" Mini Album

"40" Birthday Card

JV Velenacraft Mini Album "Adrift"
Soft Windows Card
LO "Verano"

Thanks for the DT Call
and I wish to continue participating in your challenges (~ ̄▽ ̄)~

miércoles, 13 de febrero de 2019

Fairy Tale Cards

febrero 13, 2019 8 Comments
Hello everyone!
Today I gonna show you these set "fairy tale" cards than I made using this lovely paper collection, 
"Princess Garden", and this beautiful ephemera. I'm in love with theses roses! 
Yes! You need a good scissors but that's worth, believe me! 
These are gorgeous! 
So, Unicorns are nothing to do with me but I found this one very cutie. 
At first I thought of painting it in some fantasy color but I decided to cover the horsehair with pink glitter.
The rosebushes always reminds me "Sleeping Beauty" tale. And this carriage is wonderful
So I've made a mix. I could have used the castle chipboard buuuuut the carriage is too much for me.
I had a great time cutting all these images.
Oh, my! I'm still a child!
Thanks for watching!

With these cards I participate in to the following challenges: 
"рожевим"
Scrappelyst
"glitter og glam"
Craftyhazelnut's Patterned Paper Challenge

jueves, 7 de febrero de 2019

"Memorires of Cozy Winter" Mini Album (Tutorial)

febrero 07, 2019 22 Comments
Hi everyone!
Today I gonna show you how to make a masculine mini album without "masculine" supplies 
using colors of the papers, chipboards and stamps.
(Tutorial en Español aquí)

Supplies
Wooden Mini Album
"Cozy Winter" paper collection
“Magic Day” stamps 
Chipboard Lunar background
Chipboard Deco classic background
Chipboard Street map
Chipboard Bubbles frame
Chipboard Bubbles background
Kraft cardboard (300gr)
"Versafine" black ink and "Vintage Distress"
Dark or neutral colors ribbons
2 brads, 1 charm, 1 eyelet, 1 turn mount, 2 paper clips and some die-cuts

Before dismantling the album measure the with to be able to make the structures.
Remember in what order the covers and the sheets are placed for their later assembly.

Choose what papers you can use so it will be easier to decide the number of pages to make. 
I've discarded papers with Christmas motives and reserved the houses paper for fussy cutting.

I'm going to make eigth pages, two glued on the back covers and the other ones doubles, glueing sheet with sheet. The rest of the sheets I will be used to make the structures alternating with kraft cardboard.
Remember to correctly place the direction of the holes so that when glueing sheet with sheet 
don't make mistakes.

First page
Make a half circle flip with these measurements:
 
Glue the tab of the semicircle behind the sheet and glue a 11'5x14cm (4 1/2"x1/2") piece of scrap paper and all the decorative elements in the semicircle. Cover the back of the semicircle with a scrap paper. 
Make a 8'5x29'5cm (3 3/8"x11 5/8") accordion fold and score at 7'5cm (2 15/16")
put the chipboard where you like and glue everything; use one paper clip for close.
 
You can use an envelope or do it with a 16'2x29'2cm (3/8"x11 1/2") sheet. I've make it and cut only 
the pieces that will be visible. I use stamps, chipboard, die cuts and scrap paper to decorate the page.
Use the eyelet, a brad and two ribbons of 40cm and 45cm (15 3/4" and 17 3/4") to close the page 
and another of 45cm (17 3/4") for the envelope.
Only glue this page behind to the cover when it's finished. 
NOTE: The binding will be something special. I'm going to cut the line of holes but 
I recommend you not to cut it until you check how it will look like in order to decided how do you want it.

Second page
Cut a 14x14cm (1/2"x1/2") piece of cardboard and score at 2cm and 2'3cm (13/16" and 1/8") on the top to make a tab with a little space. Cut two pieces of 7'5x11cm (15/16"x5/16") scrap paper, one of 11'5x13'5cm (4 1/2"x5/16") and another of 16'5x18cm (1/2"x1/8").
Put all the decorative elements on the sheet before gluing them together with the largest scrap piece. 
Then glue the cardboard and cover the tab with the middle scrap piece and put the small pieces too 
with the rest of the elements. Remember not to glue the part of the chipboard that will be on top 
of the site for the photo so that get in without problems.

Third page
Cut a 18'5x30'5cm (5/16"x12"scrap paper and score at 12'7cm and 12'9cm (5" and 5 1/16") on one side. 
Rip the paper up and reserve that piece. Cut two pieces of 7x11cm (2 3/4"x4 5/16") cardboard.
Put where you want all the elements and glue them before starting with the back. Glue the other piece 
of cardboard so that it covers the back of the first piece. Make a pocket with the piece that you reserved. 
Cut 12x12cm and 9x13'7cm (11/16"x11/16" and 3 9/16"x3/8") pieces of cardboard and score them in half. 
For close it use the other paper clip and the charm, but keep it open in the pocket. 
Once you have all the structures finished, cut two ribbons of 35cm (13 13/16")
You can sew them or glue them to the sheet. Finally glue the page to the sheet.

Fourth page
Make another flip with a 18'2x20'5cm (7 3/16"x1/16") scrap paper, score at 2cm and 2'5cm (13/16" and 1") 
for the top and rip the lower part. Cut two pieces of 7'8x9'6cm (1/16"x13/16") cardboard
some pieces of chipboard and other decorative elements, and put them where you like.
Behind the flip glue four pieces of 7x9cm (3/4"x9/16"cardboard and decorate the base of the page 
with remains of papers, tags, chipboard...
 

Fifth page
Make an open pocket just for one side with a 15x20cm (15/16"x7/8") scrap paper for a 13x18cm (1/8"x1/8")  tagI've sewn it on the sheet but you can make tabs and glue them. 
Cut a 10'5x14'8cm (1/8"x5 13/16") piece and glue it on the pocket but leave a space without glue for another mini pocket for a 5'5x9'5cm (2 3/16"x3 3/4") tag. Then glue a 11x29cm (4 5/16"x11 7/16") accordion fold 
and close it with the turn mount and the other brad.

Sixth page
Make a panel with a 13x22'5 (1/8"x7/8") piece of scrap paper and score at 2cm and 2'2cm (13/16" and 7/8") both above and below to create tabs. Make a large tag 17x25'7cm (11/16"x10 1/8"
with cardboard, score it in half and decorate only the side that will be outside the panel. 
Also decorate the panel with two pieces of 8x10'5cm (3/16"x1/8") cardboard, scrap papers, chipboard...

Seventh page
Make a frame flip for two photos. Cut a 22x12'8cm (11/16"x1/16") piece of cardboard and score at 2cm 
and 2'5cm (13/16" and 1"by the top. Then cut these figure on scrap paper:
 
Once you have cut the circles and scored the tabs, center the frame and glue it on the cardboard. 
If you don't want to see the cardboard you can glume scrap paper before glue the frame. 
When you finished, glue the flip to the sheet. 
Glue two pieces of 7'5x10'5cm (15/16"x1/8"scrap paper behind the flip. Cut another piece of 17'5x19'5cm (7/8"x11/16")two pieces of 6'5x7'2cm (2 9/16"x2 13/16"of another of 10x13'5cm (15/16"x5/16") cardboard; glue them on the scrap paper.

Last page
For the last page cut two pieces of 13'5x14cm (5 5/16"x5 1/2"cardboard and score them at 2cm and 2'5cm (13/16" and 1") on one side. Cut a 17'5x19'5cm (7/8"x11/16") piece of scrap paper 
and put the pieces of cardboard as a window. 
To decorate I used stamps and street map chipboard cut in half.
Make a pocket of 8x19'5cm (3/16"x11/16") leaving a margin of 2cm (13/16") at the base and 1cm 
(3/8") at the sides. You can keep some tags inside. 
Now cut two ribbons of 35cm (13 13/16") and glue or sew them to the sheet. 
Then you can glue the page to the sheet but only glue this behind to the back cover when it's finished. 
NOTE: Remember, the binding will be something special. I'm going to cut the line of holes but 
I recommend you not to cut it until you check how it will look like in order to decided how do you want it.

Cover and back cover
Use acrylic paint: black, white and blue (I use purple, pure and cerulean shades of blue); varnish, sandpaper, sponge and brush, and glitter. First, check if the covers needs a sanding before painting.
Put some paint drops doing and blur the paint with the help of the sponge making a gradient.
Now wet your fingers with water and just spread the colors.
This is optional but I love how it looks. You can throw the glitter before the paint dries.
Once dry, splash with white paint. The last step will be to varnish the surface to protect the paint.
Once the varnish has dried, repeat the same process from the back covers.
I recommend to decorate the cover after binding the album. 

I'm going to make a very simple decoration with these chipboards:
  
    
I'm going to paint the little houses, glue from behind a little piece of yellow acetate and then 
glue white cardboard to show the yellow.

Binding
You can do it in two ways. The simplest is to put the leaves and covers in the wire and glue the pages that were left to the covers (if you don't cut the holes they should match the ones in the covers). 
I prefer to make a spine and hide the wire.

First, put the finished pages with two "in white", one at the beginning and one at the end.

To make the spine put the leaves together with the covers and measure the width of the album, in this case 5'5cm (3/16"). Cut a 15'5x20'5cm (1/8"x8 1/16") piece of watercolor paper of 300gr, make two marks to 5cm (1/4") of each side and score inside to 5mm (3/16").

Cut two ribbons of 43cm (16 15/16") and glue them in the middle of each cover (at 10'5cm or 4 1/8"). You can also sew or staple them if you have the proper needle or a special stapler to drill more than 5mm (3/16").

Join the covers leaving the space of the spine, center it well and glue it, let dry for a few hours.
You can paint the spine with the same tones as the covers. If you want to hang some charm is time to do it. Once dry, put the wire right in the center of the spine and try to it the leaves "in white" covering the tabs 
of the spine. Check many times as you need that the album opens up well, that it is centered... 
Just glue the leaves when you are sure that everything is in place.
 
Now you can glue the last two pages and finish decorating your cover.
And we would have finished the album. 

A little video about this mini album, of course.

And that's the way that you can make a mini album for a young men only with some chipboards 
and playing with the colors of the papers.
Thank you very much for reading this post soooo long. 
I hope you liked it and that it will help you.
Have a good week and see you in the next post.

With this mini album I participate in to the following challenges: