Book-box for a gift (Tutorial)
Fils & Papiers
marzo 29, 2019
5 Comments
Hello everyone!
It's March and perhaps you'll have a communion, a wedding or another celebration
to which you are going to attend soon. So today I want to show you how to make a gift card
out of the ordinary that you can use as a signature book or card holder too.
(Tutorial en Español aquí)
 Supplies that you will need:
-5 white cardboards (250gr minimum)
-grey cardboard of 1.5mm
It's March and perhaps you'll have a communion, a wedding or another celebration
to which you are going to attend soon. So today I want to show you how to make a gift card
out of the ordinary that you can use as a signature book or card holder too.
(Tutorial en Español aquí)

-5 white cardboards (250gr minimum)
-grey cardboard of 1.5mm
-3 papers from "Princess Garden" paper collection
-2 ribbons of 25.5cm (10 1/16")
-Tools for cutting, folding and gluing (the work will be much easier if you have a score board)
-Tools for cutting, folding and gluing (the work will be much easier if you have a score board)
Let's start!
Cut two piece of cardboard to 17'8x17'8cm (7 "x7") and other two to 12'7x17'8cm (5 "x7").
 Score the four cardboards at half an inch (1'3cm) and fold all the marks like an accordion.
If you don't work in inches I leave you the centimeters to which you must score:
1'3 - 2'5 - 3'8 - 5'1 - 6'35 - 7'6 - 8'9 - 10'2 - 11'4 - 12'7 - 14 - 15'25 - 16


Next, position the accordions forming a box.
You must place the accordions like in the image, making a "sandwich".


 Only put glue (or hard double sided tape) in the final union of both sides, "up" and "down".


Gluing only those two points the structure will not be stiff but will have a "spring" effect.
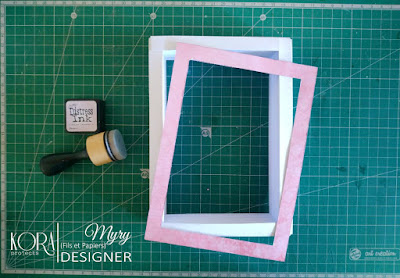
 Cut a 13x18cm (5 1/8 "x7 1/8") piece of scrap paper to cover the edge of the structure that will be visible and score at half an inch (1'3cm). Cut the rectangle. Optionally ink or tear the edges before glue it.
 If you wanted to cover the whole structure you need a 19x24cm (7 1/2 "x9 7/16") piece of scrap paper
and score at 3 and 16cm (1 3/16" and 6 5/16") by the width and 3 and 21cm (1 3/16" and 8 1/4") by the high.
 To make the cover as a book you need two pieces of 13'3x18cm (5 1/4"x7 1/8") grey cardboard
and one of 1'8x18cm (11/16"x7 1/8").


 Once dry you can glue both the pocket and the accordion structure trying to fit it
and allow the closure in the correct way.


For decoration I used some die cuts and different flowers like the peach flower mix,
Distress ink "milled lavender", the chipboards "Border moons" and "Rowan cluster" for the inside and "Dios ilumina mi camino"
("God illuminates my way" in english) for the cover.


I believe that the message of the chipboard can represent very well the walk in Christ for any Christian.
For another celebration, for example a wedding, look for a chipboard with a phrase or a "Bride & Groom".
As you can see this can be adapted to any celebration just by changing the chipboard of the cover.
I hope it has given you a taste!
With this Book Box I participate into the following challenges:

Art Club UA: Завдання Палітра - Пробудження (2-га палітра)

Craftyhazelnut's Patterned Paper

Country View Craft
Cut two piece of cardboard to 17'8x17'8cm (7 "x7") and other two to 12'7x17'8cm (5 "x7").

If you don't work in inches I leave you the centimeters to which you must score:
1'3 - 2'5 - 3'8 - 5'1 - 6'35 - 7'6 - 8'9 - 10'2 - 11'4 - 12'7 - 14 - 15'25 - 16


Next, position the accordions forming a box.
You must place the accordions like in the image, making a "sandwich".


Gluing only those two points the structure will not be stiff but will have a "spring" effect.


and score at 3 and 16cm (1 3/16" and 6 5/16") by the width and 3 and 21cm (1 3/16" and 8 1/4") by the high.
The pocket is totally optional. You can reserve this place for a small writing for example.
I've made a pocket for some 8x14cm (3 3/16"x5 1/2") tags.
At first I made a larger pocket but it's better to make a pocket with a 10'8x16'2cm (4 1/4"x6 3/8")
piece of scrap paper and make two scores at half an inch (1'3cm) on all three sides that will be fixed it.
At first I made a larger pocket but it's better to make a pocket with a 10'8x16'2cm (4 1/4"x6 3/8")
piece of scrap paper and make two scores at half an inch (1'3cm) on all three sides that will be fixed it.

and one of 1'8x18cm (11/16"x7 1/8").
Cover it with a 20x30'5cm (7 7/8"x12") piece of scrap paper.
I used the last white cardboard to strengthen the structure and I've glued and sewed the two ribbon
before gluing hte other piece of scrap paper of 18x28'8cm (7 1/8"x11 5/16").


and allow the closure in the correct way.

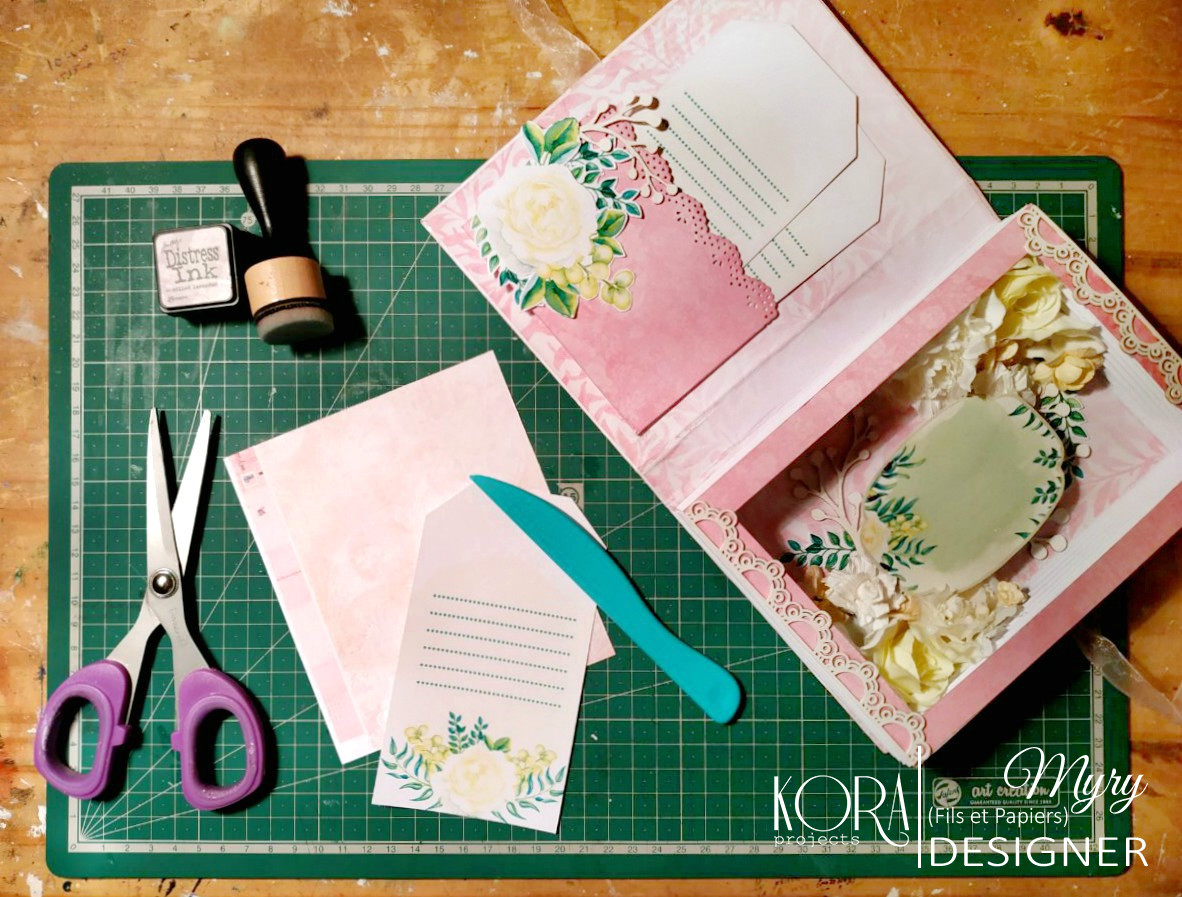
For decoration I used some die cuts and different flowers like the peach flower mix,
Distress ink "milled lavender", the chipboards "Border moons" and "Rowan cluster" for the inside and "Dios ilumina mi camino"
("God illuminates my way" in english) for the cover.


On this case I made a decoration for communion,
but you can also use this same decoration for a baptism, for example. I believe that the message of the chipboard can represent very well the walk in Christ for any Christian.
For another celebration, for example a wedding, look for a chipboard with a phrase or a "Bride & Groom".
As you can see this can be adapted to any celebration just by changing the chipboard of the cover.
I hope it has given you a taste!
With this Book Box I participate into the following challenges:
Art Club UA: Завдання Палітра - Пробудження (2-га палітра)
Craftyhazelnut's Patterned Paper
Country View Craft